Pokémon Battling
Seizing Victory in Pokémon Battles
During your travels you’ll meet wild Pokémon determined to defend themselves, fellow Trainers looking for a challenge, and Gym Leaders who expect you to prove yourself in battle. To prevail against these opponents, you’ll have to meet each situation with a mix of shrewd strategy and a roster of well-trained, carefully-selected Pokémon. Welcome to the world of Pokémon battles—in this section we’ll run down how battling works and the factors that spell the difference between victory or defeat.
The Basics of Battle
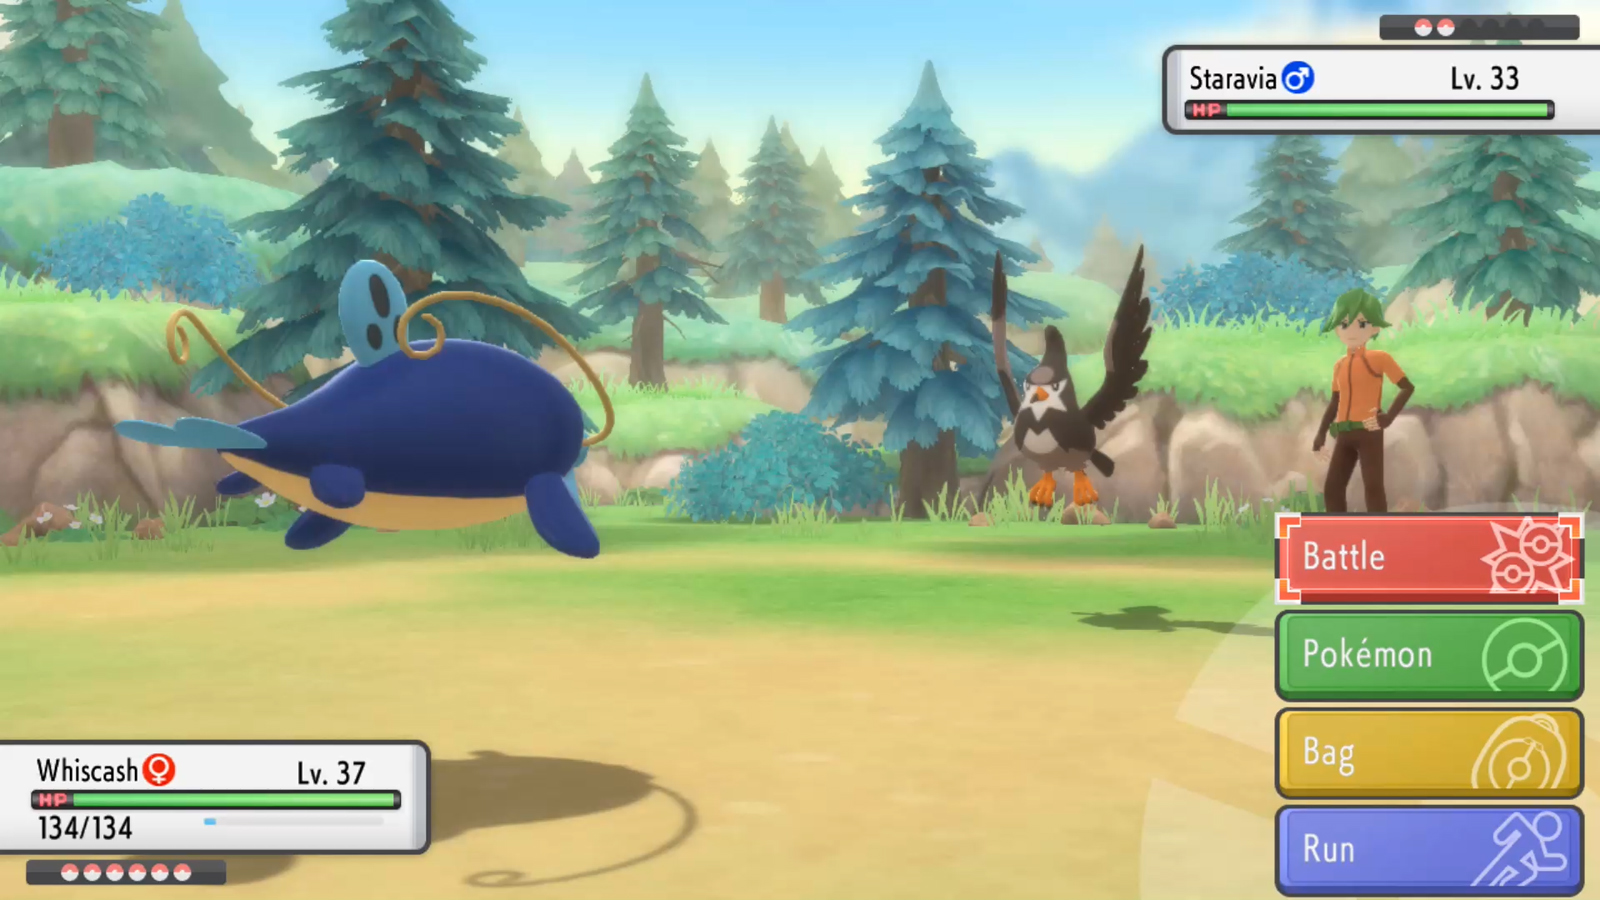
When you enter a battle, you’ll automatically deploy your battle-ready Pokémon from the top of your team list, which can hold one to six Pokémon at a time. Battles in Pokémon Brilliant Diamond and Pokémon Shining Pearl are turn based, so you can take all the time you need to choose from the following four options.
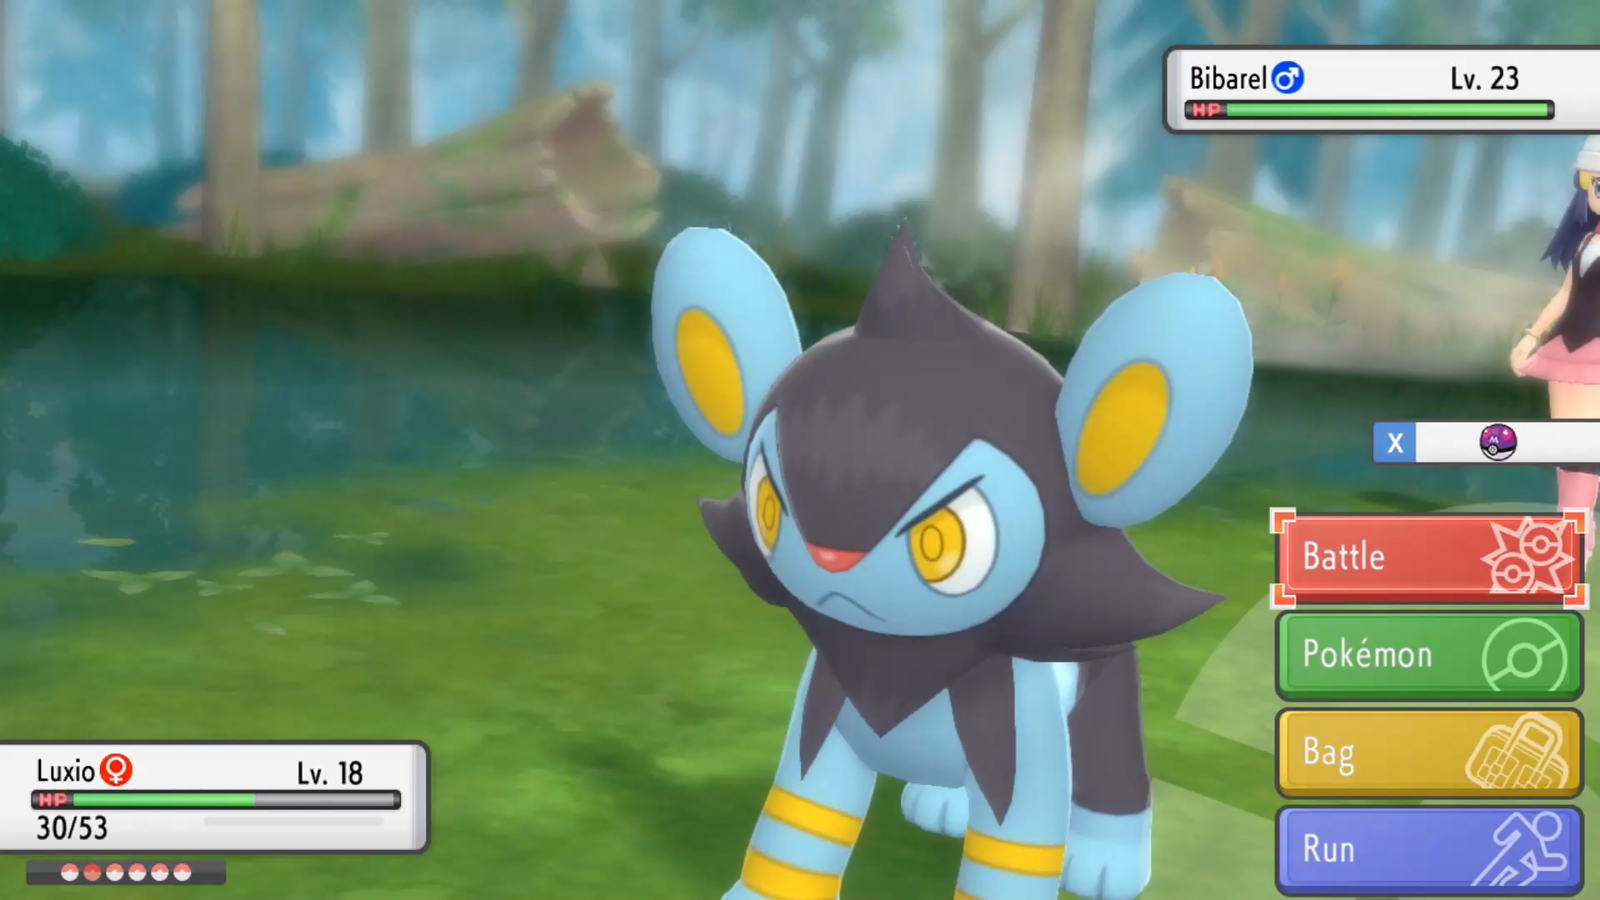
Battle
After you choose the Battle command, you’ll be given a list of your active Pokémon’s moves. Select a move to use it or choose “Cancel” to return to the previous menu. The Pokémon in battle with the highest Speed stat will get to use its move first, so factor move order into your plans when facing quicker Pokémon. Note that certain moves and Abilities can allow slower Pokémon to act first.
Pokémon
If your active Pokémon isn’t the right one for the job, you can use this command to switch it with a different member of your team. Doing so will take up your entire turn, but replacing a vulnerable Pokémon with a more effective one before the opposing Pokémon can use its move is often a sound strategy.
Bag
Choose this command to reach into your Bag’s various pockets for an item. While in battle, your items are divided into four categories: Medicine, Poké Balls, Battle Items, and Berries. You can use only one item per turn, and doing so will take up your entire turn. Items take effect immediately, before your opponent can act, so using an item is usually the safest way to heal a wounded Pokémon.
Run
You can attempt to run from battle when facing wild Pokémon, although doing so will take up your entire turn and there’s a chance that your escape attempt may fail. If that happens, you can always try again on your next turn. It is only possible to run from battles with wild Pokémon; any attempt to escape from a Trainer battle, even by using a special item or move, will always fail.
Different Ways to Battle
Your objectives and the tactics you’ll employ can change significantly depending on where and when you’re battling.
Battling to Catch Wild Pokémon
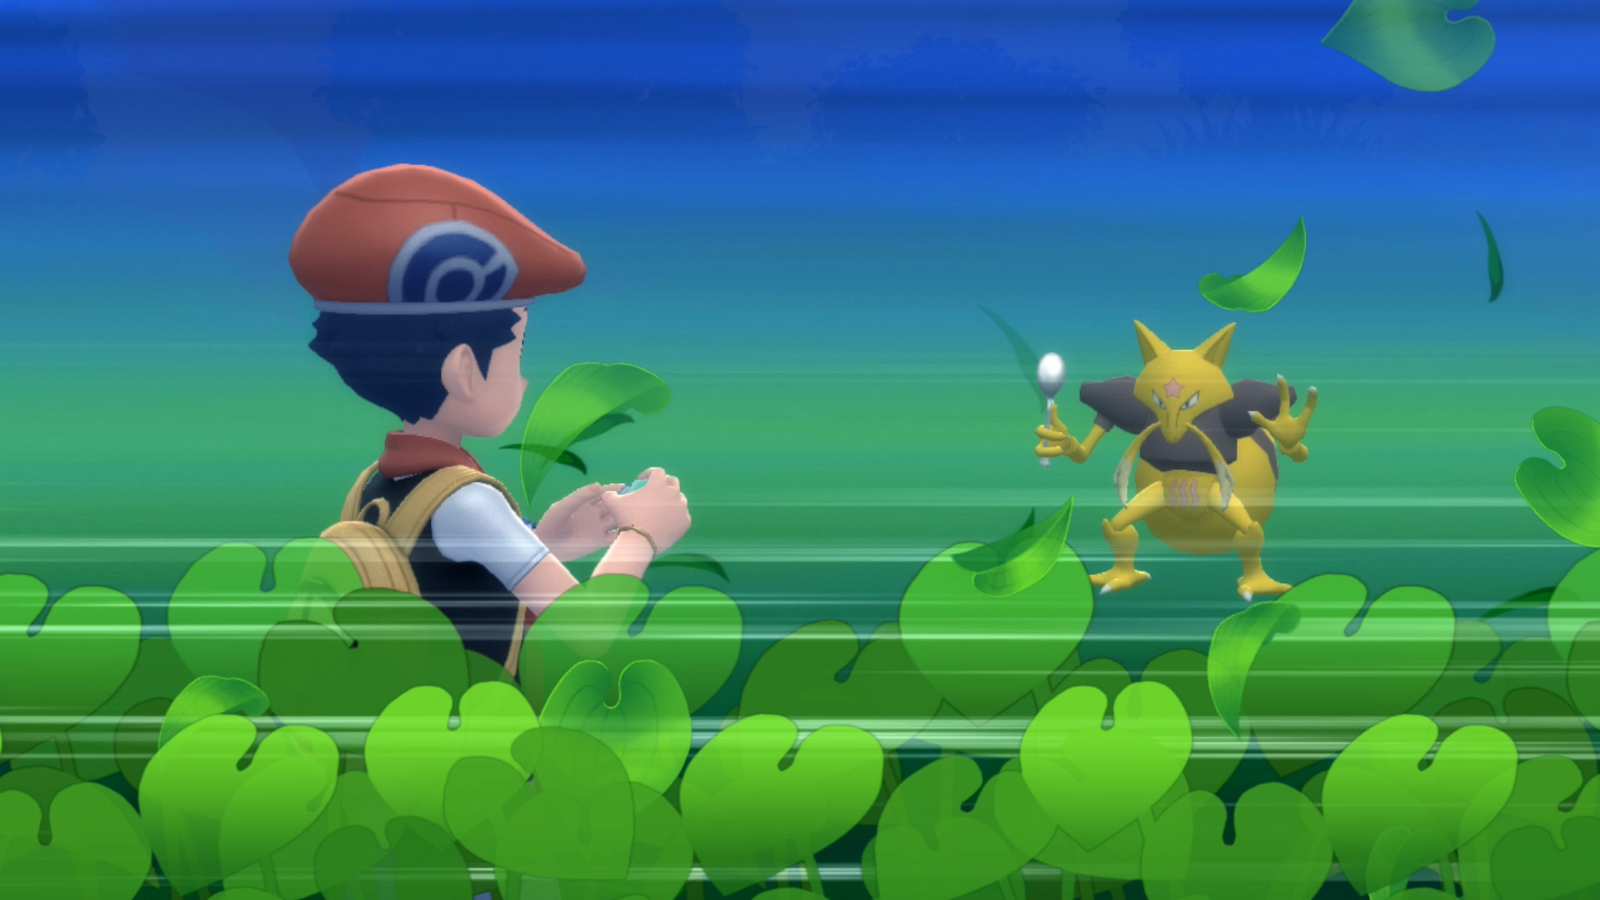
Wild Pokémon may approach whenever you’re crossing tall grass, traversing dangerous areas like caves, or exploring Pokémon Hideaways in the Grand Underground. Most wild Pokémon don’t usually pose a significant threat on their own, but if you do run into one that’s strong enough to give your team trouble, you can always try to run away.
One thing that makes encounters with wild Pokémon so interesting is the opportunity to catch and add them to your team. When trying to catch a wild Pokémon, your goal is not to knock it out but to weaken it so that it’s easier to catch. A wild Pokémon is easiest to catch when it has very few hit points (HP), so you’ll ideally want its HP bar to be in the red zone. Keep in mind that moves like False Swipe can help weaken a Pokémon without accidentally causing it to faint. Status conditions like sleep and paralysis also make a Pokémon easier to catch without knocking it out.
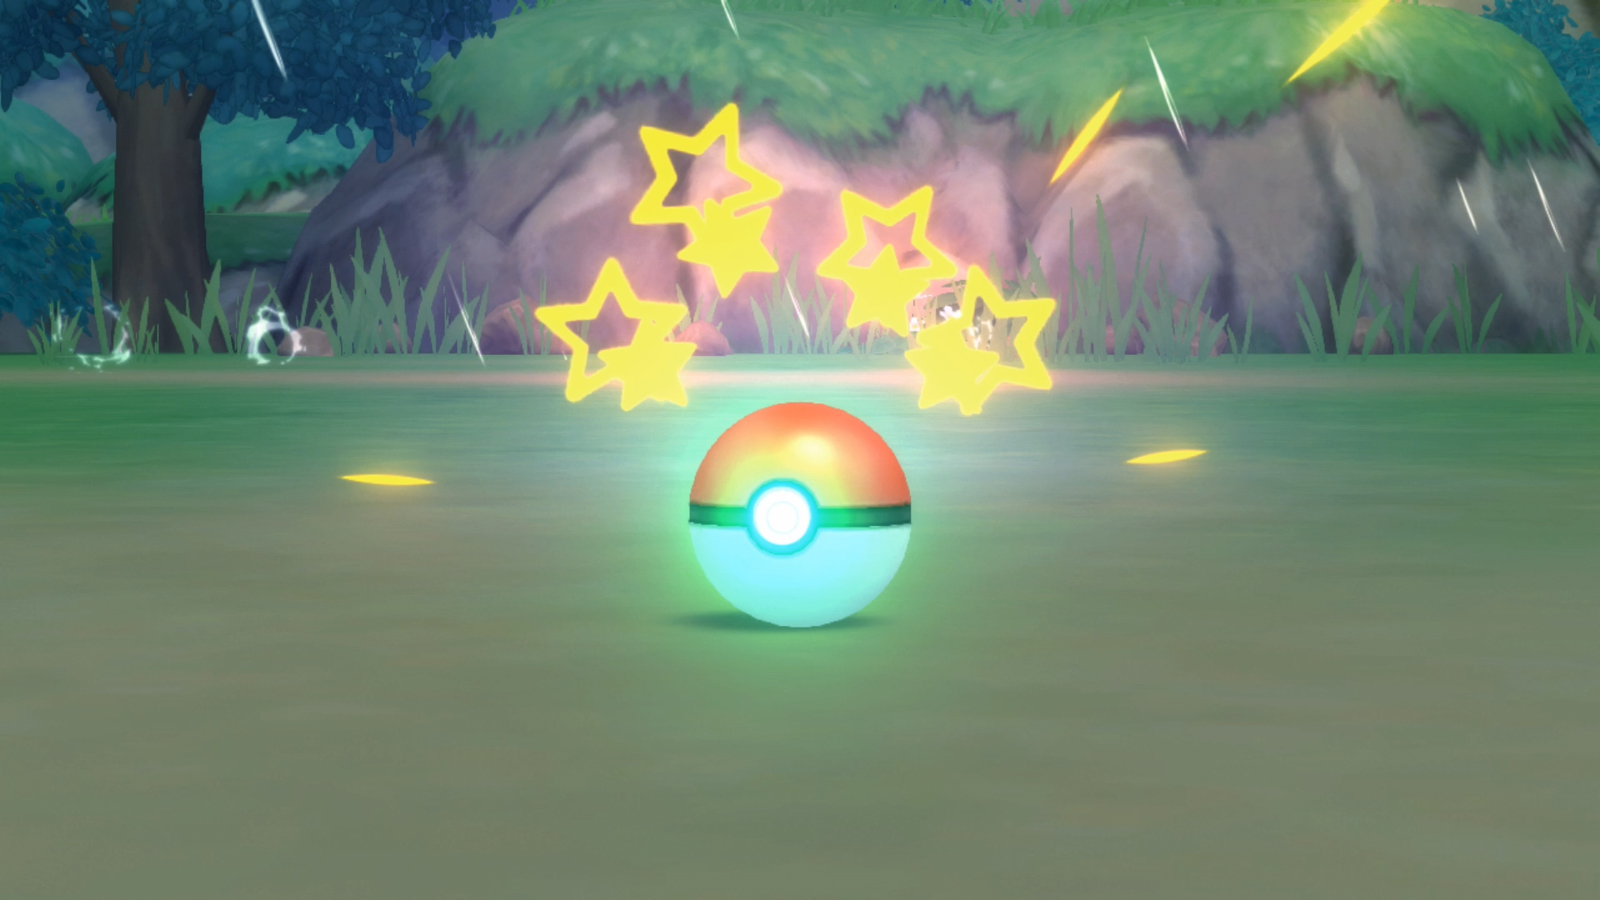
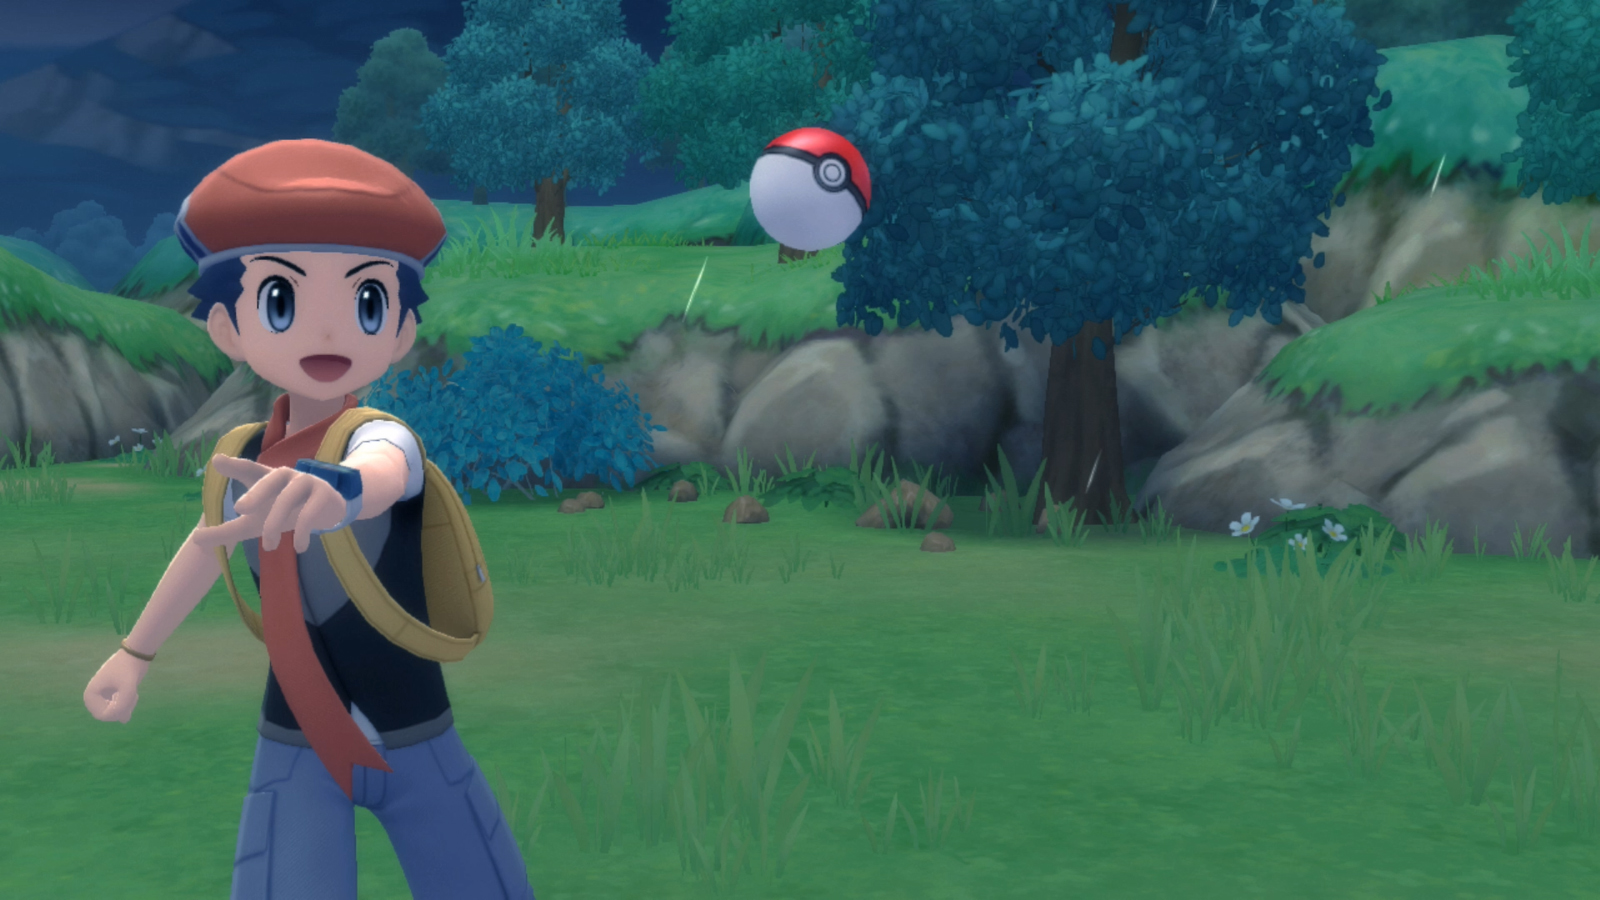
Once a wild Pokémon is weakened, it’s time to reach into your Bag and grab a Poké Ball. Even against Pokémon that have been reduced to low HP or affected by a status condition, any Poké Ball you throw has a chance of failure (except for the Master Ball). The good news is that you can try again! Simply press the X Button on your next turn to quickly throw another ball from your Bag.
The Right Poké Ball for the Job
There are a variety of Poké Balls available in Pokémon Brilliant Diamond and Pokémon Shining Pearl, with some excelling in specific situations or against certain types of Pokémon. Many of the specialized balls are widely available and cheaper than Ultra Balls, so you should make a habit of using them when possible. Using the right ball will significantly boost your odds of success!
All-Purpose Poké Balls


Specialized Poké Balls


Challenges from Other Trainers
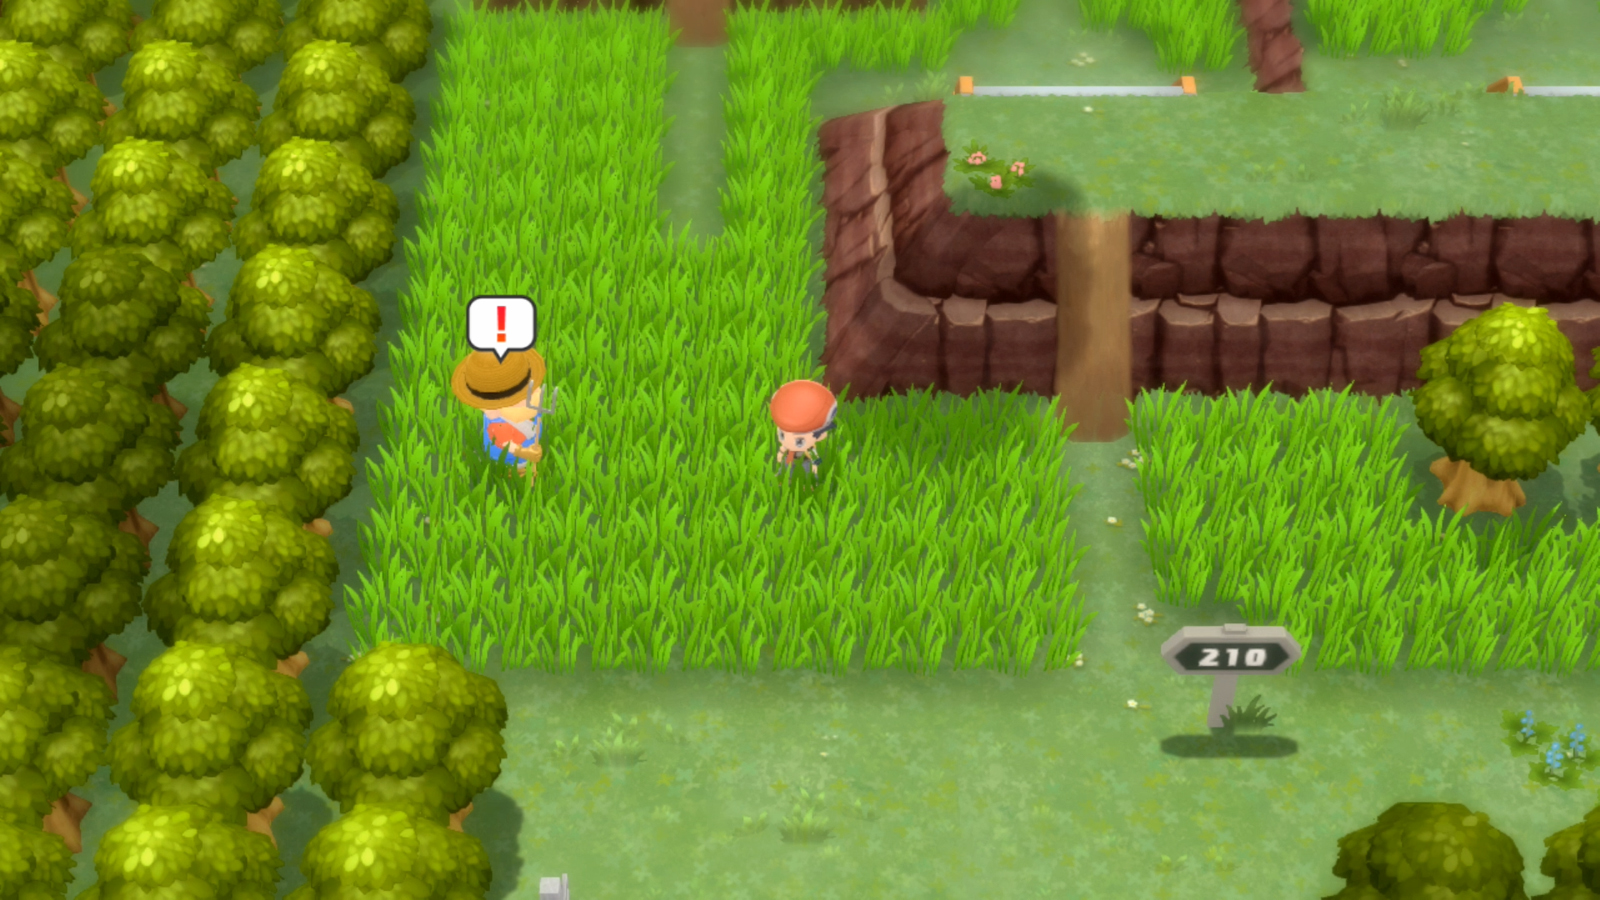
You’re not the only Pokémon Trainer in Sinnoh, so be prepared to put your skills to the test against all the rest. When you cross an opposing Trainer’s path in routes, caves, and certain structures, they’ll challenge you whether you like it or not. There’s no running away from Trainer battles once they’ve begun, but you generally won’t have to defeat a given Trainer more than once. Many Trainers have multiple Pokémon at their disposal, and whenever they send out a new one, you’ll be able to switch your Pokémon without using up a turn—as long as your Battle Style is set to Switch in the OPTIONS menu.
While you can avoid a number of battles by navigating around an opposing Pokémon Trainer’s line of sight, it’s usually a good idea to face them if your Pokémon are up for the challenge. Battling Trainers is your primary source of income, as most Trainers cough up some cash when defeated. They may also have rare Pokémon on their team, so battling them will allow you to add their entries to your Pokédex without having to catch or evolve those Pokémon yourself.
Ambushes from Your Rival
One Trainer you’ll be seeing a lot of is your childhood friend who takes you to Lake Verity at the beginning of the game. He has a habit of running up to challenge you out of nowhere, even in areas like towns and cities that are usually safe. Be ready for these potentially tough battles by healing your Pokémon soon after arriving in new areas and by keeping a Pokémon on hand that’s effective against your rival’s first partner Pokémon.
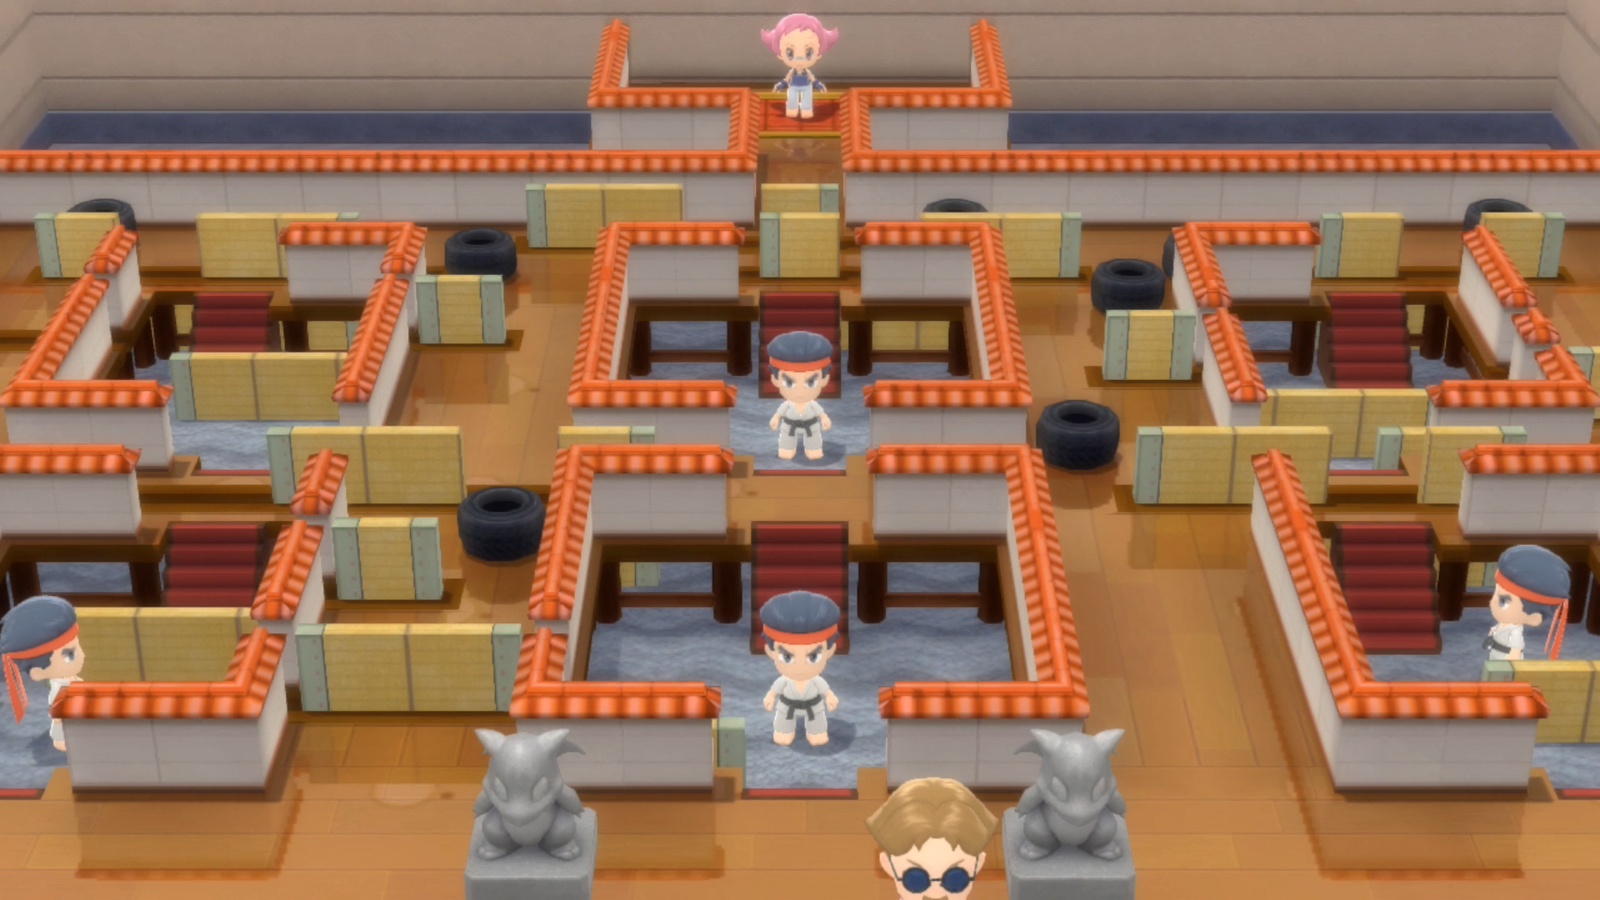
Proving Your Worth at Gyms
Most major cities in Sinnoh have a Pokémon Gym where aspiring Champs-to-be can test their skills against the toughest Trainers in the area. Each Gym usually contains several strong Gym Trainers and an even stronger Gym Leader, all of whom who specialize in a certain type of Pokémon. Try working your way to the Gym Leaders by battling their subordinates first—it’s a perfect warmup for the main event. Some Gym Trainers might also have rare Pokémon you’ll just get one chance to see, since you can only battle them before you’ve defeated their Gym Leader. There’s no penalty for leaving the Gym and coming back, so you can step out to heal up at a nearby Pokémon Center as often as you like.
Defeating a Gym Leader usually earns you some Stickers, Technical Machines (TMs), and a shiny new Gym Badge. You’ll need all eight Gym Badges before you can challenge the Pokémon League Champion, but Badges also have immediate effects. Earning Badges allows you to purchase new items at Poké Marts, command higher levels of Pokémon, and access hidden moves like Surf or Fly that will allow you to reach new areas.
Navigating Double Battles
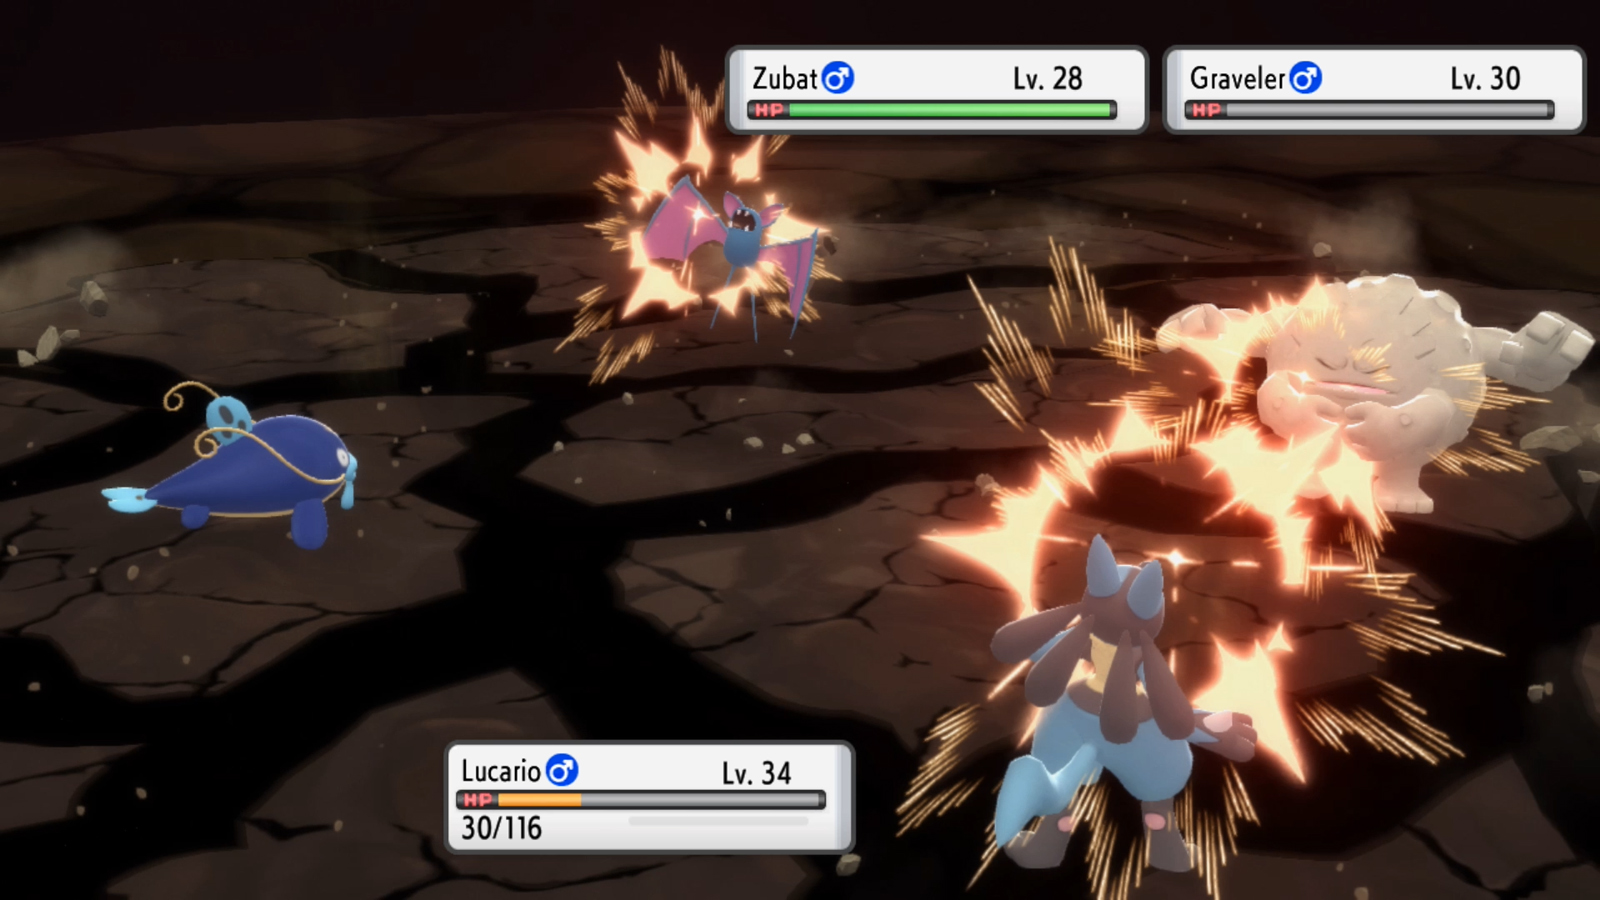
At certain points on your adventure, you’ll end up in Double Battles against a pair of opposing Pokémon. Depending on the situation, you’ll either use one Pokémon side-by-side with an ally’s Pokémon, or you’ll send out the two Pokémon at the top of your team list when traveling alone. Double Battles function similarly to normal battles; choose an action for each of your Pokémon, then watch as they’re executed in order of Speed. Note, however, that moves sometimes function differently in Double Battles. For example, some attack moves target both opposing Pokémon, while some support moves may affect both of your active Pokémon. Other moves, like Earthquake and Surf, target every active Pokémon except for the user, which could potentially cause a Pokémon to knock out its own teammate! Pay close attention to the little red brackets that appear on the target selection screen in Double Battles, as those will show each move’s full area of effect. You can factor this into your strategy to make effective teams, like pairing a Ground-type Pokémon that knows Earthquake with a Flying-type Pokémon that is immune to Earthquake’s Ground-type damage.
Fighting Effectively
The easiest way to give your team an edge in Pokémon battles is to choose Pokémon that have inherent advantages against their opponents. Every Pokémon has one or two types that give it an advantage against some Pokémon, while making it vulnerable to others. Their moves also have types, and the system works similarly: attacks of a certain type will deal additional damage to foes who are weak to that type of damage but fall flat against foes who resist it.
There are 17 different Pokémon types present in Pokémon Brilliant Diamond and Pokémon Shining Pearl: Normal, Fire, Water, Grass, Electric, Ice, Fighting, Poison, Ground, Flying, Psychic, Bug, Rock, Ghost, Dragon, Dark, Steel, and Fairy. Yet even with the existence of dual-type Pokémon, you still wouldn’t be able to squeeze all 17 types into a team of six Pokémon. But if the Pokémon in your party cover a diverse assortment of types, and each of those Pokémon knows a variety of move types, you’ll be ready for just about anything. If you plan carefully, victory can be as easy as switching in a Pokémon with the right combination of types to withstand incoming attacks and deal massive damage in return.
Pokémon Type Advantages
Some type interactions are intuitive: fire burns grass and melts ice, so of course Fire-type moves would be super effective against Grass-type or Ice-type Pokémon. Likewise, you wouldn’t accomplish much by trying to scorch a rock or burn a dragon, so it makes sense that Rock-type or Dragon-type Pokémon can shrug off Fire-type attacks. But other type relationships can be more complicated. If you can’t remember how Water and Steel types interact, or whether Poison-type Pokémon should fear Ghost-type moves, refer to the chart below.
The numbers in the following chart are damage multipliers. For example, a Fighting-type attack deals double damage (“super effective”) against Normal-type Pokémon, a standard amount of damage (“effective”) against Fire-type Pokémon, half damage (“not very effective”) against Poison-type Pokémon, and no damage at all (“ineffective”) against Ghost-type Pokémon.
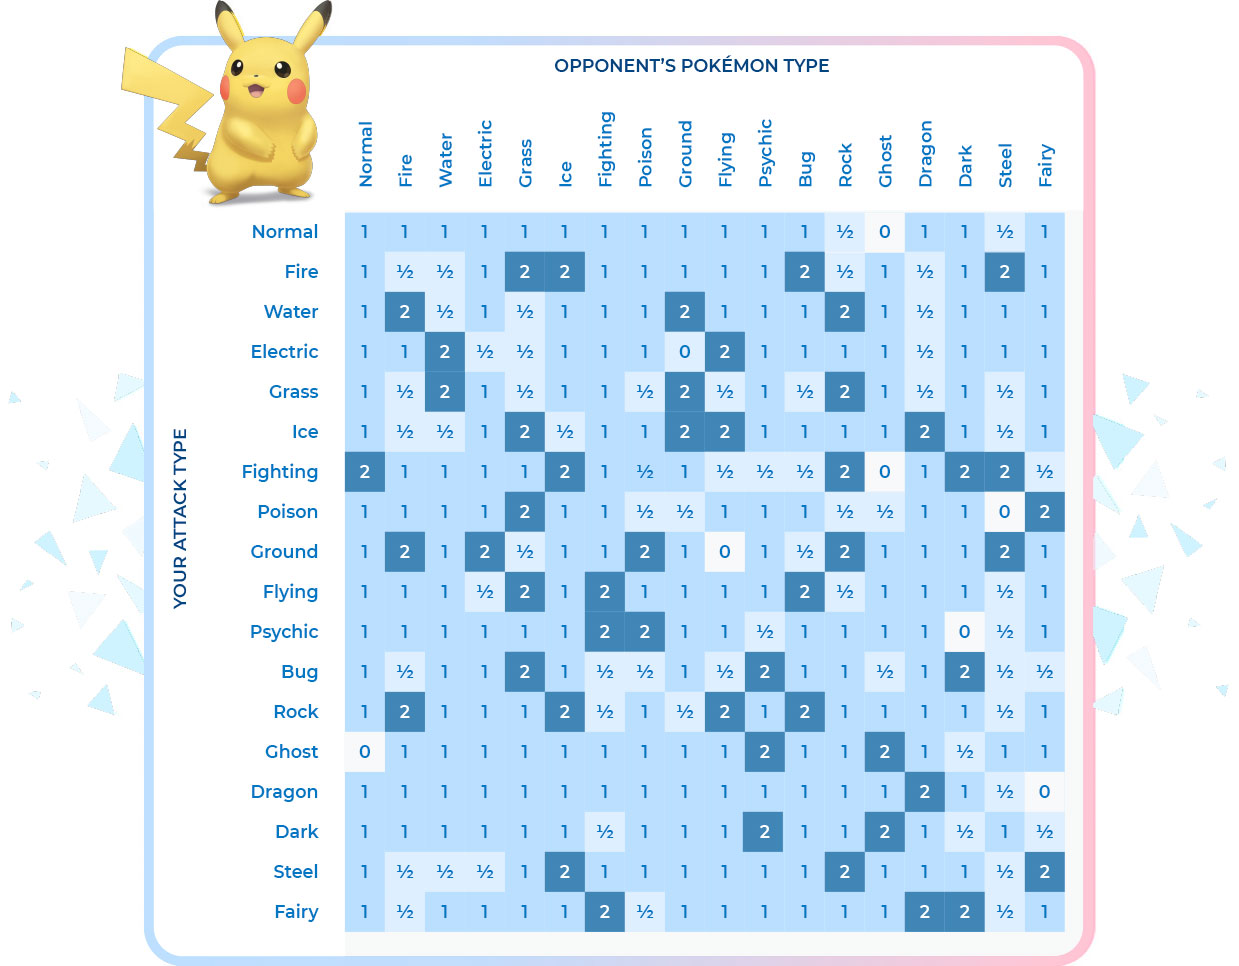
Note that Pokémon that became the Fairy type or had the Fairy type added to them after the initial release of Pokémon Diamond and Pokémon Pearl—such as Clefairy and Mime Jr.—have been reclassified as Fairy-type Pokémon for these games as well.
How Dual Typing Works
If the Pokémon you’re attacking has two types, you simply apply both modifiers. For example, using a Fire-type move against a Grass- and Rock-type Pokémon will only deal regular damage because Rock’s resistance to Fire-type moves cancels out Grass’s weakness to them. On the other hand, a Fire-type move used against a Grass- and Bug-type Pokémon will do quadruple the damage since both of its types share a weakness to Fire.
Preview the Effectiveness of Your Moves
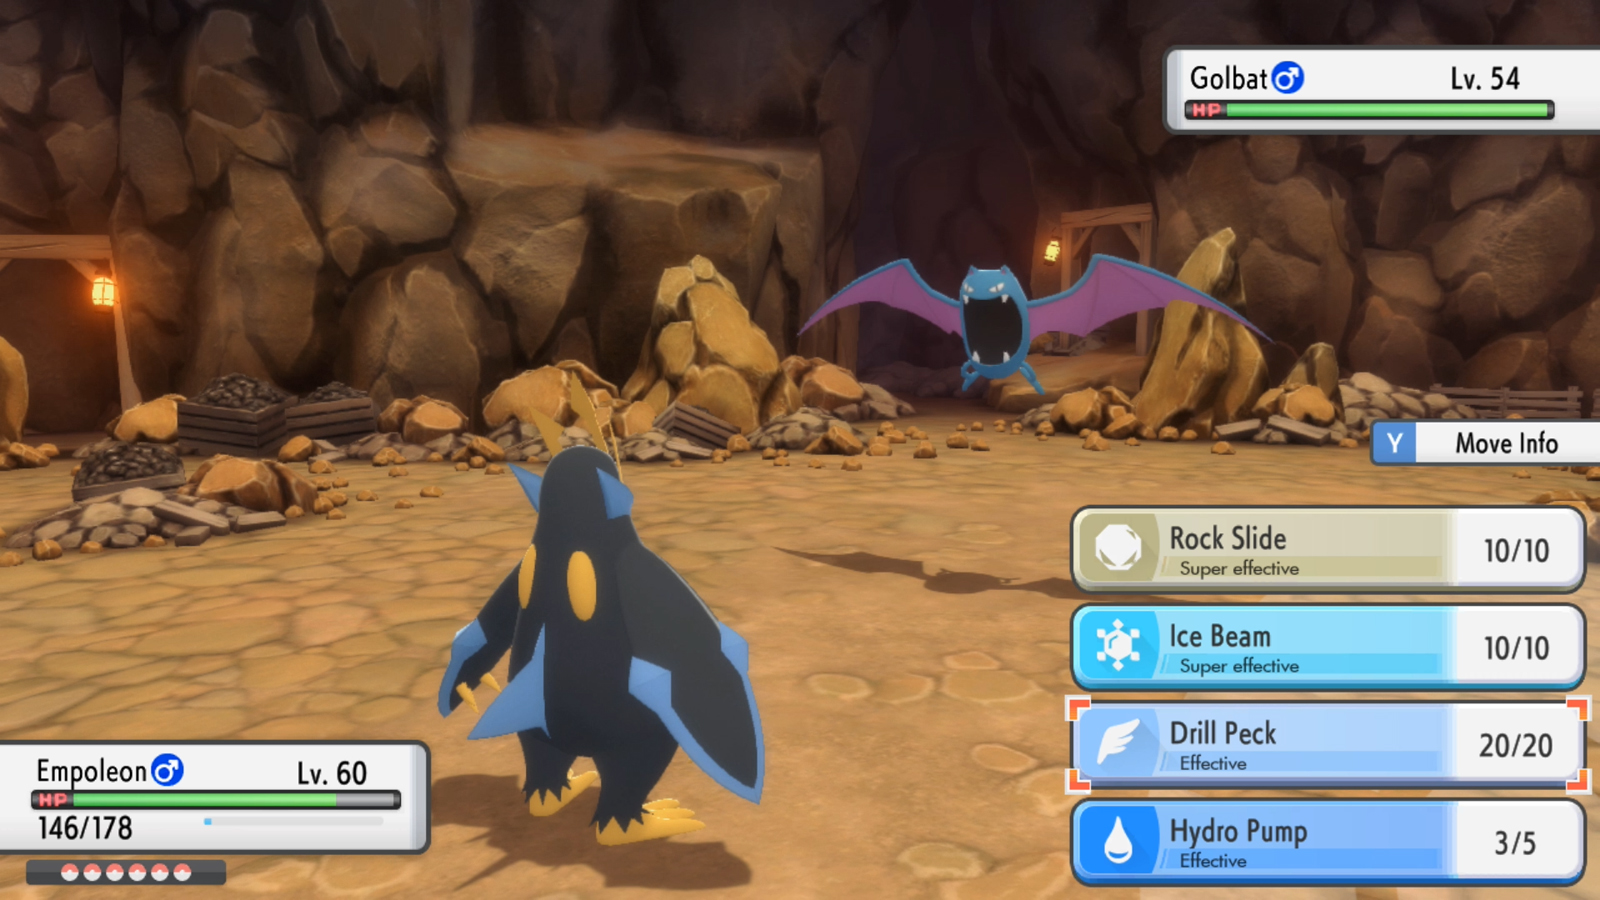
Fortunately, you won’t need to remember all of these type relationships as you play, thanks to one handy addition in Pokémon Brilliant Diamond and Pokémon Shining Pearl: if you’ve previously added an opposing Pokémon’s entry into your Pokédex, you can see how effective each of your Pokémon’s moves would be before selecting one in battle. Just look for labels like “Effective” or “Super effective” beneath the move names. When switching a new Pokémon into battle, you’ll also be able to review the effectiveness of that Pokémon’s moves against your current opponent.
Other Damage Modifiers
Learning how to deal supereffective damage against opposing Pokémon is just the beginning. When a Pokémon uses a move that shares its type, that move will receive an additional bonus of one and a half times its basic damage dealt. To demonstrate this, you’ll notice in the chart above that a Dark-type Pokémon will deal double damage when using a Fire-type move against a Grass-type Pokémon. But if a Fire-type Pokémon uses a Fire-type move against a Grass-type Pokémon, that move will deal an additional 50% damage for being the same type as its user, resulting in triple the damage.
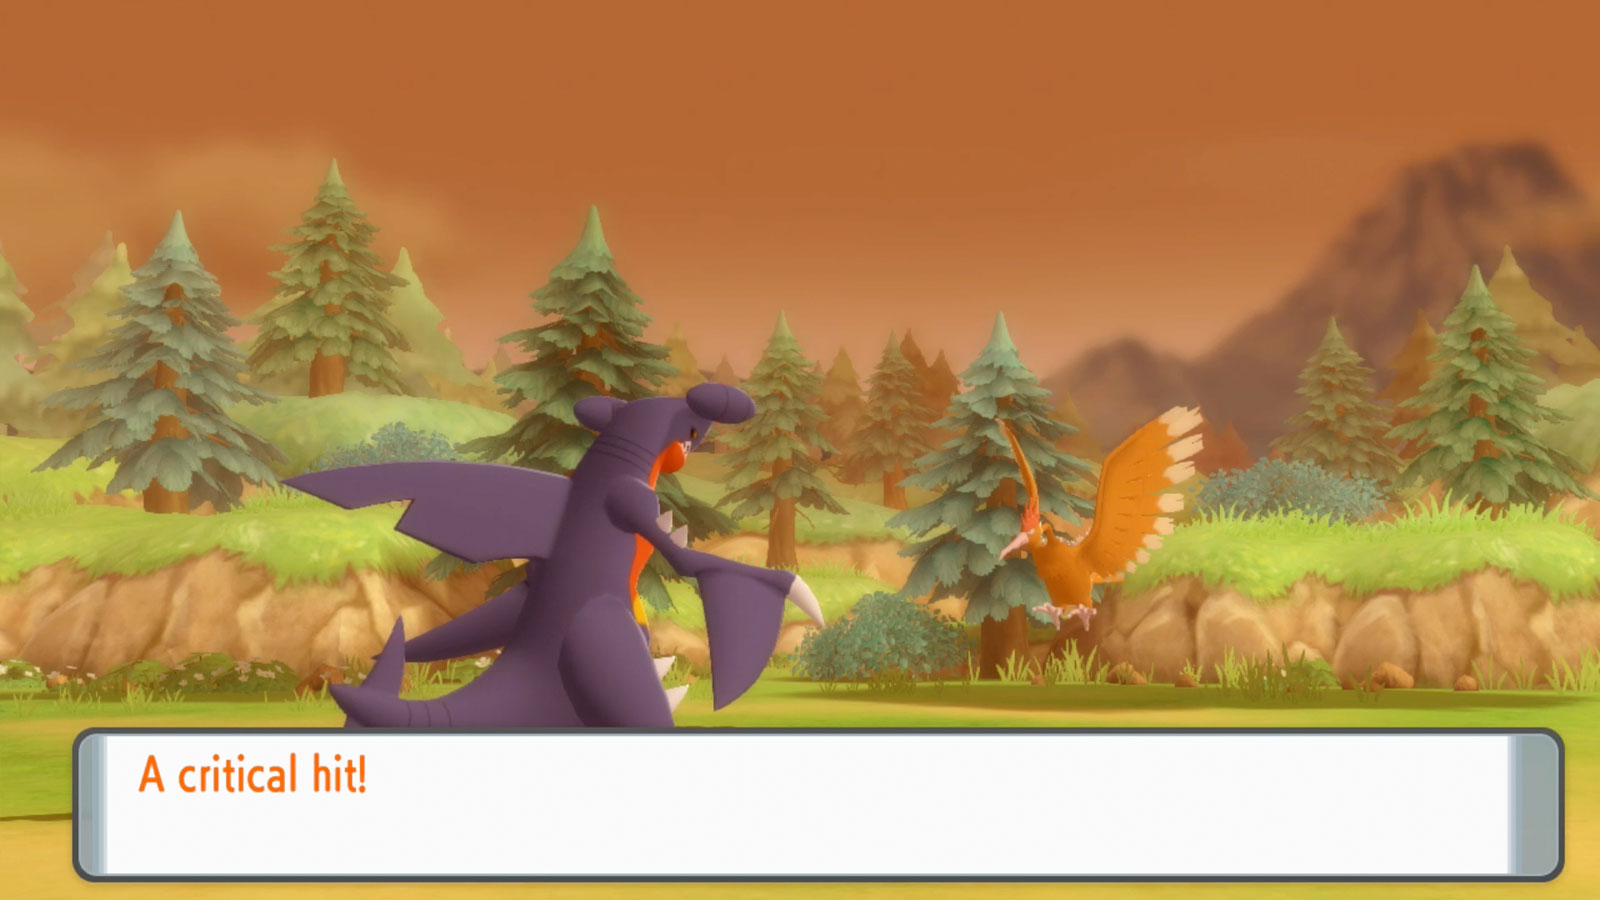
Critical hits, which occur randomly during Pokémon battles, provide a damage bonus that stacks with all the bonuses listed above. You can significantly increase your odds of landing a critical hit by using moves described as having a “high critical-hit ratio,” using certain held items, or by using Pokémon with the Super Luck Ability. Certain weather conditions, along with status conditions like burns, may also affect how much damage your Pokémon can deal.
Understanding Pokémon Stats
Each Pokémon has six simple stats that determine important things like how much damage it can deal and how much it can endure. These stats naturally increase as a Pokémon gains levels, evolves, or is the recipient of stat-boosting items like Calcium and Zinc. Just remember that not every stat matters equally for every Pokémon. When evaluating whether to use a new Pokémon in battle, try to figure out which stats are important for the moves it can learn. Also keep in mind which stats will help it fulfill the role you want it to play in your party. And to maximize your team’s potential, you’ll want to learn the difference between physical moves and special moves!

Physical moves are marked by a red burst on the move’s description. They deal damage based on the user’s Attack stat and are defended against by the target’s Defense stat.

Special moves are marked by a blue ring on the move’s description. They deal damage based on the user’s Special Attack stat and are defended against by the target’s Special Defense stat.

Status moves either don’t deal damage or deal passive damage based on factors that are unrelated to a Pokémon’s base stats.
| Stat | Description |
|---|---|
| HP | When a Pokémon is damaged, it loses HP. When it has 0 HP, it faints and can no longer fight. |
| Attack | The higher a Pokémon's Attack stat, the more damage it deals with its physical moves. |
| Defense | The higher a Pokémon's Defense, the less damage it receives suffers from opposing physical moves. |
| Special Attack | The higher a Pokémon’s Special Attack, the more damage it deals with its special moves. |
| Special Defense | The higher a Pokémon’s Special Defense, the less damage it receives from opposing special moves. |
| Speed | The Pokémon with the highest Speed between competitors is able to strike first in battle. |
Status Conditions and Other Conditions
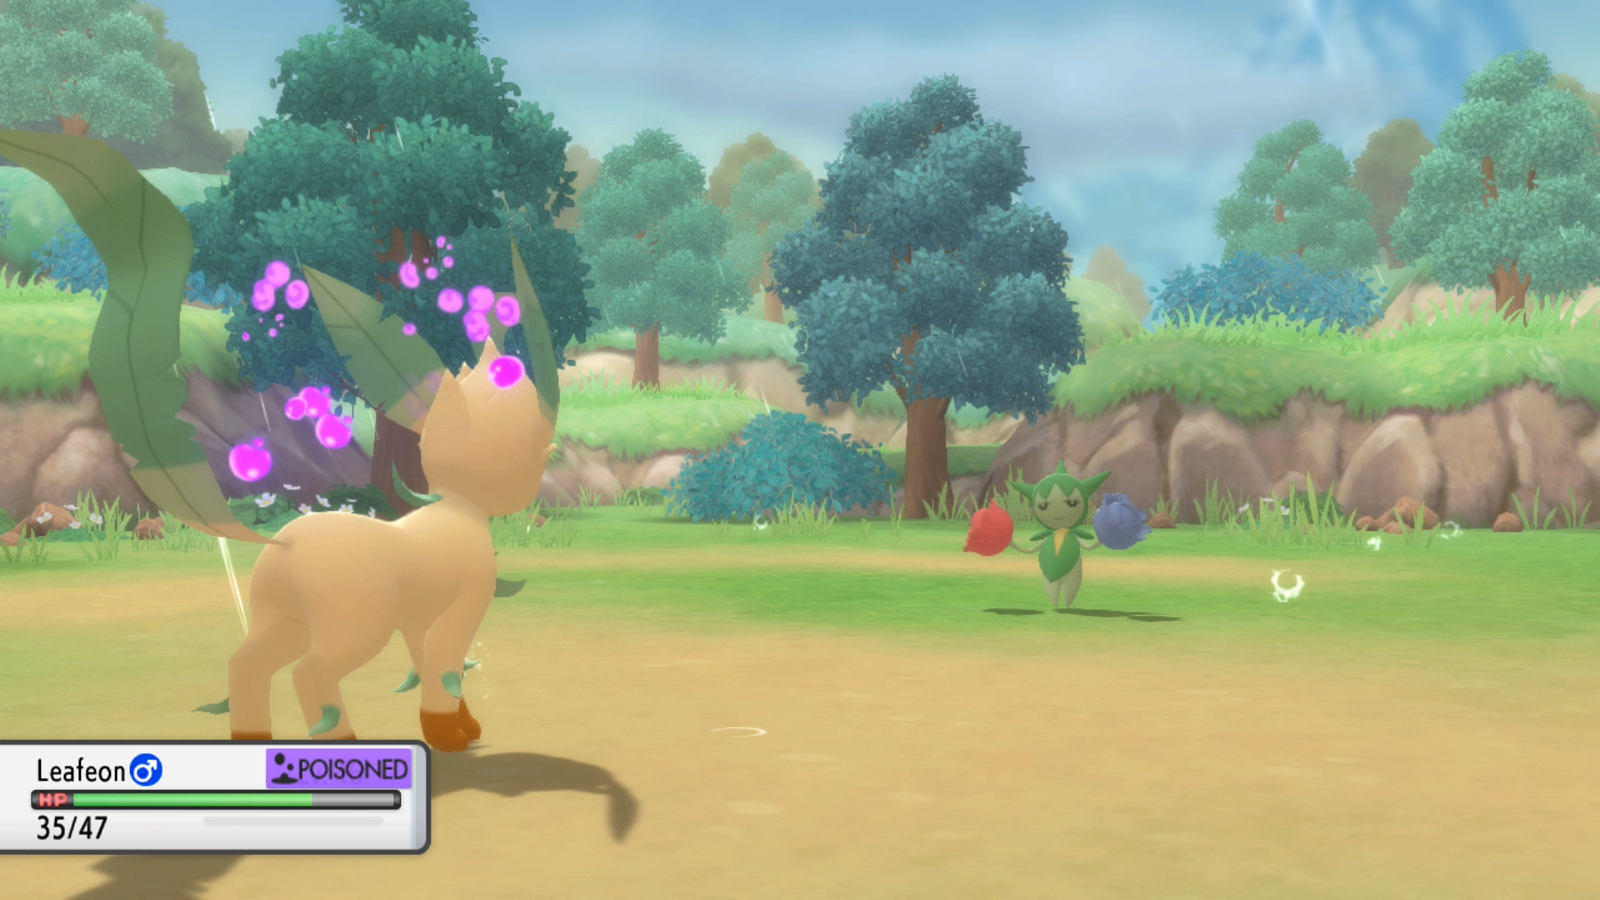
When it comes to Pokémon battles, dealing damage is only the tip of the iceberg. There are also a variety of status conditions and other conditions that can affect Pokémon, such as sleep, burns, and paralysis. Here’s a quick rundown of the common status conditions and other conditions, along with some of the ways to remedy them. All status conditions will be healed when you heal your Pokémon at a Pokémon Center, while other conditions (like infatuation and confusion) will be removed at the end of a battle if not sooner.
| Condition | Effect | Remedy |
|---|---|---|
| Burn | Burned Pokémon deal less damage with physical moves and lose HP at the end of each turn. | Heal with items like Burn Heals, Full Heals, and Rawst Berries, or with moves like Refresh, Rest, and Aromatherapy. |
| Confuse | Confused Pokémon sometimes damage themselves instead of using a selected move. | Pokémon drop their confusion after 2–5 turns or when switched out of battle. Heal with items like Full Heals and Persim Berries, or with moves like Refresh, Rest, and Aromatherapy. |
| Flinch | If a Pokémon flinches before it can use its move, it doesn’t get to attack. | Pokémon with the ability Inner Focus won’t flinch in battle. Items and berries cannot prevent flinching. |
| Freeze | Frozen Pokémon cannot use moves in battle. | Has a chance of going away each turn. Heal with items like Ice Heals, Full Heals, and Aspear Berries, or with moves like Refresh, Rest, Aromatherapy , and damaging Fire-type moves. |
| Infatuate | Infatuated Pokémon’s moves fail 50% of the time. | Infatuation only works between Pokémon of opposite genders. Pokémon drop their infatuation when switched out of battle. Heal with items like Mental Herbs. |
| Paralyze | Paralyzed Pokémon have reduced Speed and their moves fail 25% of the time. | Heal with items like Paralyze Heals, Full Heals, and Cheri Berries, or with moves like Refresh, Rest, and Aromatherapy. |
| Poison | Poisoned Pokémon lose HP at the end of each turn. Badly poisoned Pokémon take increasing damage each turn. | Heal with items like Antidotes, Full Heals, and Pecha Berries, or with moves like Refresh, Rest, and Aromatherapy. |
| Sleep | Sleeping Pokémon cannot use most moves in battle. | Pokémon wake up within 2–5 turns. Heal with items like Awakenings, Full Heals, and Chesto Berries, or with moves like Refresh and Aromatherapy. |
Giving Your Pokémon Items
Each Pokémon can hold a single item in battle. Early in the game, you’ll probably want to give Berries to your Pokémon. When held by a Pokémon, a Berry will immediately take effect in battle when it’s needed to heal some HP or ward off a status condition. Berries are consumed after a single use, but they don’t use up your turn and they’re not hard to find—best of all, you can always grow more!
As you progress through the game, you’ll acquire accessories and other items that have permanent effects. Held items can boost a Pokémon’s stats, improve the power of its moves, or provide nice perks like HP recovery at the end of each turn. Don’t send your Pokémon into battle without an item on hand!